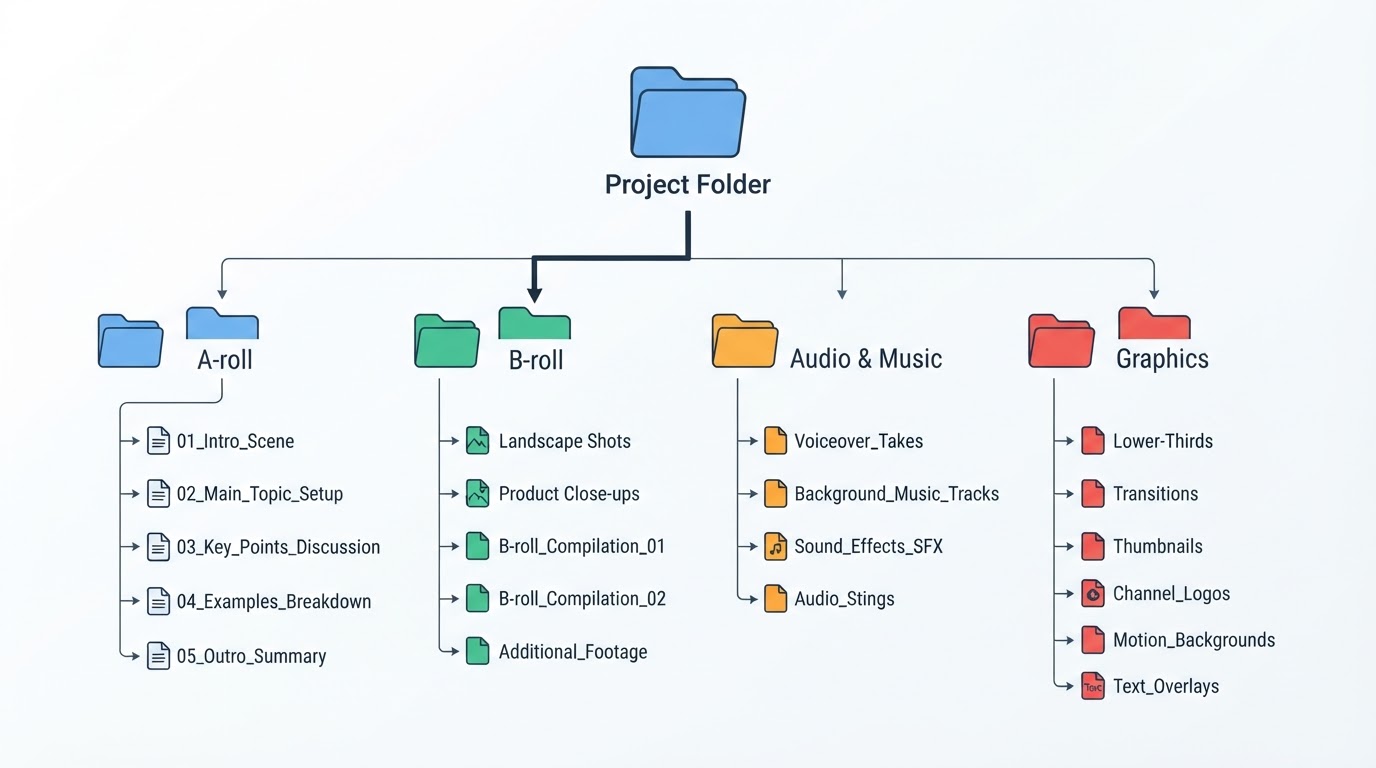
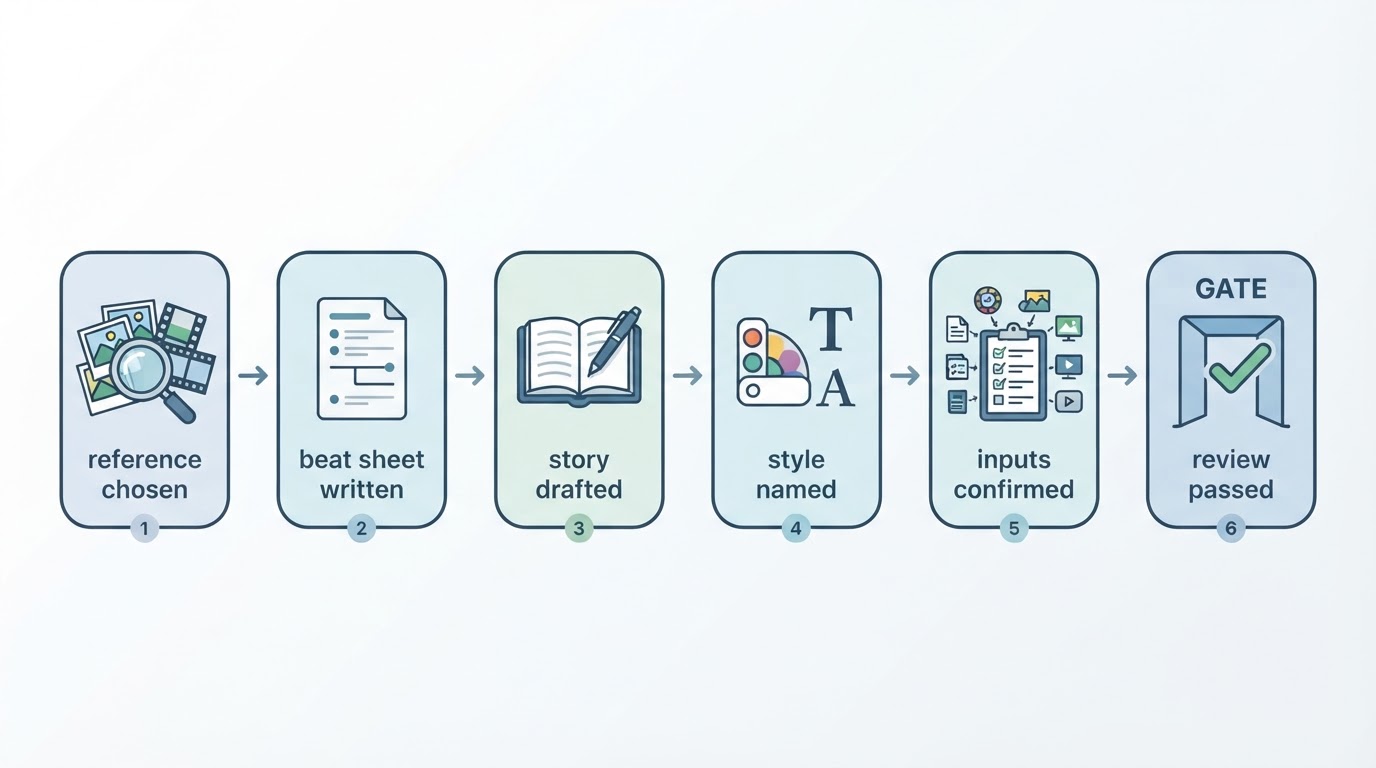
Preview the finished promo before you plan anything
Before you open a tool, describe the finished piece out loud in four lines: who it is for, the single message they should leave with, how long it should feel, and what the final frame lands on. A promo that cannot be described that way is still a pile of ideas, and no visual style will turn it into a piece with a job.
The preview is deliberately unglamorous. One audience means one viewer profile, not "creators and marketers". One message means a sentence a stranger could repeat after hearing it once. Length is a feeling as much as a number: most promos that hold attention land somewhere between 15 and 90 seconds, and the shorter ones are usually harder to write well. The ending is the part people skip, and it is the part that decides whether the promo did anything.
Done when: you can say the closing line and the closing image out loud without checking a note.
Step 1: Fix the audience, the message and the ending
Write three lines before you open any tool: audience, message, ending. Keep them in the same file you will use for the script, because every later draft has to answer to them.
Name the audience by behaviour rather than by job title, for example "someone scrolling short-form video at night who has already tried two free generators". Write the message as a claim you can defend, not a mood. Write the ending as the action or the image the viewer is left holding, whether that is "open the pricing page" or "the product on a desk at the end of a working day".
Done when: someone else can repeat your message back to you after hearing it once, and your ending names something concrete.
Step 2: Build the product facts checklist
List only the product facts you can actually defend, and mark each one as confirmed, needs a source, or cut. Specs, prices, availability and any performance or result claim belong in the "needs a source" column until you have verified them in your own product documentation.
The checklist is what keeps a short video honest. A 25 second promo has room for roughly two or three claims, so anything still marked "needs a source" should usually be cut rather than squeezed. If you cannot verify a number, drop the number and keep the capability. The video will not be weaker for it; it will be shorter and more credible.
Done when: every line you intend to say traces either to a confirmed fact on the list or to a story you wrote yourself.
Step 3: Choose the reference whose opening and pacing you want to learn from
Pick a reference for its structure, not its footage. Watch the first three seconds, then list the shot order, count the beats, and mark where the payoff sits. A short table with beat number, what happens, and roughly how long it lasts is enough.
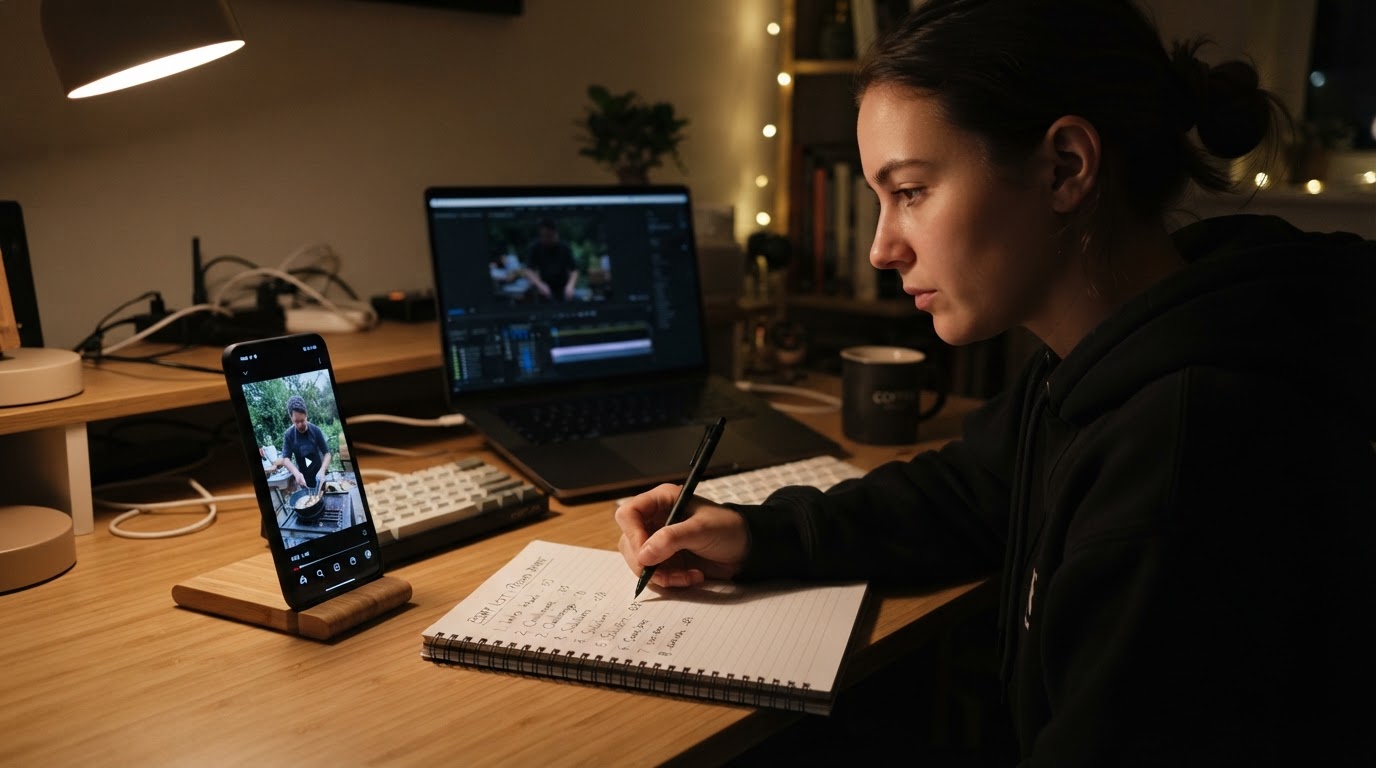
Meltica is built around this reference-first habit rather than around text prompts, and its documented behaviour is specific about the input: a reference is required, and text or a still image on its own is not accepted. That constraint is useful, because it forces you to name the structure you are borrowing before you generate anything.
Two things are worth settling at this point. First, finding a reference grants you no rights to its footage, music or likeness, so the structure is the only part you take. Second, keep the reference you actually studied; swapping references halfway through step 4 usually means step 4 has to be rewritten.
Done when: you can describe the reference's opening, shot order and pacing in five lines or fewer.
Step 4: Rewrite the structure as your own story
Take the opening, the shot order and the pacing you mapped, and write new dialogue, new captions and new shots for your own product facts. Do not reuse footage, music, faces or lines from the reference, even when the reference is popular and the temptation is obvious.
Meltica generates a complete short video from an available reference video plus your own written story plus a visual style you choose. Its own documentation is candid about the limits here: recreation does not guarantee shot-for-shot reproduction, matching characters or matching voices, so write the story as the piece you actually want rather than as a bet on a perfect copy. The reference defines the opening, the shot order and the pacing; the story is the part that is yours.
Done when: the script matches your facts checklist and reads like something you would publish under your own name.
Where planning ends and generation begins
Meltica separates two things that are easy to blur. Product content planning is a research surface: it publishes worked examples that show goal, material, request and review points, so you can compare how similar products are presented before you commit to a brief. That planning surface is explicitly offline. The examples do not fill your workspace, do not save drafts and do not submit tasks, so the plan you build there has to be carried across by you.
Generation is the other half. It is the step where a reference, an original story and a chosen visual style turn into an actual file. Nothing about planning renders, and nothing about rendering re-plans for you. Keeping the two apart is the difference between a brief you can review and a render you have to explain.
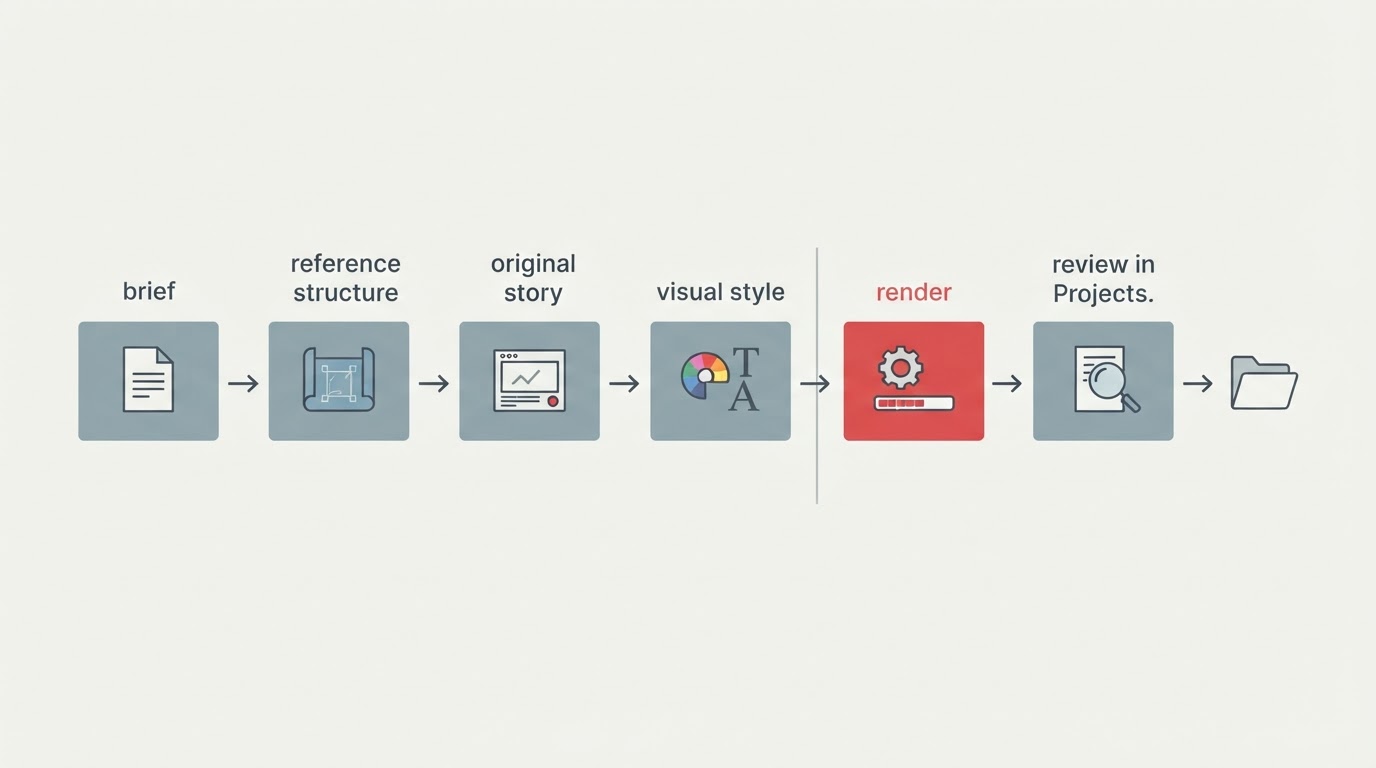
Done when: you know which of the two you are doing next, and you know what you are carrying between them.
Step 5: Choose a style and submit the render request
Set the visual style first, then read the request, the inputs and the cost line by line before you submit. Every submission in Meltica requires an explicit review of the request, the inputs and the cost before it starts, which is a useful forcing function: if the cost or the inputs surprise you, the brief is probably not finished.
Generation runs in the background and typically takes 10 to 30 minutes depending on length and shot count, so treat it as a task you start and come back to rather than a page you wait on.
Done when: you have read the request, the inputs and the cost line, and you can name the reference, story and style that were submitted.
Step 6: Review the complete result in Projects and request changes
Open the task in Projects, watch the entire video once without pausing, and only then take notes. Projects is where a run is tracked: status, the complete result, change requests and the download live in the same place, and the task ID is the handle to quote when a run is unclear or fails.
Review against four passes, in this order: story, captions, sound, and unintended details. Note changes at the level of a single shot or line rather than asking for a full regeneration, because a targeted request keeps the parts that already work.
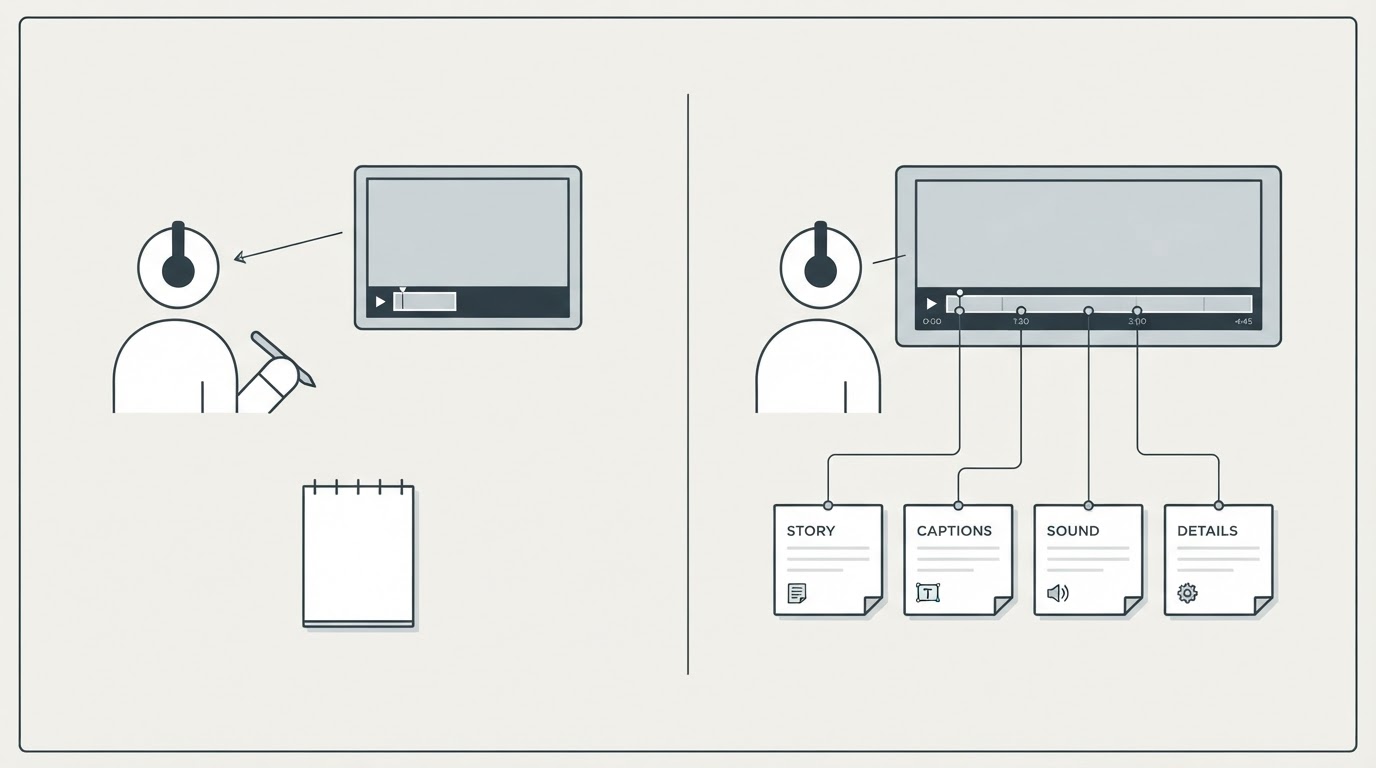
Done when: your notes are written against the complete video rather than the first few seconds you liked.
Step 7: Download and publish by hand
Publishing is a manual step, and it sits outside the render. YouTube publishing requires channel authorisation, account access, platform permissions and service configuration, so the last step is a person downloading a file and uploading it with a title, description and thumbnail they chose.
Done when: the file exists on your own storage and the destination channel has been chosen deliberately.
Limits worth stating before you promise anything
- Product images and product footage are not generated. If the promo needs the real product on screen, that material comes from you.
- Reference recreation does not guarantee matching shots, duration, characters or voices.
- Background renders take time, so a same-hour deliverable is not a safe promise.
- The planning examples are read-only; they do not populate a workspace or save a draft.
- Failed runs are not charged points, and the task status is the evidence you need when you ask for help.
Mistakes that cost a render
Starting from the reference instead of from the message is the most common one; the video ends up shaped like something else's promo and says nothing about yours. Copying footage instead of structure creates a rights problem that no edit fixes. Leaving a "needs a source" claim in the script means rebuilding the brief after review. Writing change notes while watching a preview rather than the complete result means the same notes get written twice. And submitting without reading the cost line mixes a craft decision with a budget surprise.
Checklist before you submit the video promo
- Audience, message and ending written in three lines
- Facts checklist marked confirmed, needs a source, or cut
- Reference mapped as opening, shot order, pacing and payoff
- Story rewritten in your own words, with no borrowed footage, music or likeness
- Visual style chosen and the request, inputs and cost read line by line
- Review pass planned as story, captions, sound, unintended details
- Publishing owner and destination channel named
Run that list once before the render and once before the upload. The second pass is where the promo stops being a file and starts being something you were willing to sign.