
Meltica makes promo videos for products, apps and local businesses. You pick a video you like, describe what your product is, and Meltica produces a series of marketing videos built around your brand. This guide walks through the whole route once, end to end: finding a reference, telling Meltica what to make, checking the result, and keeping a week of content planned ahead.
Everything below was captured from the English workspace. The same steps apply in 简体中文, 繁體中文 and 日本語 from the language selector.
Before you start: what you need
Three things, none of them heavy:
- An account. Creating one takes an email. Sign in from any page. - Your product basics. A name, a one-paragraph description, and who it is for. If you have a website, the Brand center can read it for you — more on that below. - A reference you like. Any short video whose pacing or camera work fits your product. The Ideas tab is the fastest place to find one; a competitor's clip or your own footage works too.
Meltica does not need raw footage from you unless you want to upload materials. The videos are generated from your description, your brand details and the reference.
Step 1 — Find a reference in Ideas
Open Ideas from the sidebar. Two tabs sit at the top:
- Trending shows what is popular across platforms right now, filtered by categories like Food & dining, Beauty & care, and Tech & gadgets. - Featured samples shows curated examples that work well as references.

Scroll the grid, watch a few clips, and pick one whose structure you want to borrow — the hook in the first seconds, the order of shots, how the product enters. You are not copying the content; you are borrowing the pacing and camera work. The content becomes your product.
Step 2 — Start from the reference with "Use this story"
Under each card there is a Use this story button. Click it and Meltica opens the Create page with that video already set as your reference.

You land on the form with the reference title filled in. If you already have a video in mind — a link, or something saved on your phone — you can also start from Create directly and paste the reference in yourself.
Step 3 — Describe what to make
The Create page is one form:

- Make it for my product — the toggle that keeps your brand details attached. When it is on, Meltica builds the video around the product in your Brand center. - What this video should cover — one or two sentences on the goal. "Make a launch video for my product" is enough to start; the more specific the ask ("show the checkout flow, end on the free-trial note"), the closer the first render lands. - Upload materials (optional) — drop in a logo, product photos or a clip if you have them. Nothing is required. - Format — vertical 9:16 or horizontal 16:9. Leave it on "chosen automatically" and Meltica picks based on the reference.
Click Start making. Generation runs as a task in your library; you can leave the page.
Step 4 — Keep your brand accurate in the Brand center
The Brand center is where your product lives. Fill it once and every video you generate afterwards draws on it:

- Your product — name, description, who it is for. If you add your website, Meltica reads it and fills these fields for you to correct. - Website reading — what the product does, target region, audience. - Uploaded materials — logos and product photos that can appear in renders.
The description is the field worth polishing. "The more accurate it is, the more the videos feel like your brand" is literal here: the description is what the generator uses to write the script and choose shots.
Step 5 — Review the finished video
When the task finishes, it appears in Projects (labeled Library in the current build) with a status badge. Open it to see the result:

The detail page shows three things worth reading before you download anything:
- Your request — the reference and the description you gave, so you can check the render against the ask. - Generation activity — timestamps for each stage, useful if a render failed mid-way and you need to retry. - Changes to the video — a revision box. Type "shorten the opening and make the subtitles larger" and Meltica re-renders with the change.
Download video saves the file. Publish sends it to a connected channel. Make another starts a new task with the same reference.
Step 6 — Keep a week of content planned
One video is a good start; a week is a schedule. The Content calendar on the Create page plans three days ahead from your activity date:

Each day gets a topic with a short "why this works" note. Edit any entry, mark it skipped, or let auto content planning refill the window. The calendar ties into the same brand details — a store launch on Thursday produces store-appropriate topics for Thursday through Saturday.
Step 7 — See how published videos perform
After you publish through the Publish button, the Analytics page collects views, likes and channel mix:

- Performance tab — totals, views over the last 30 days, best channel. - Review lab — the notes and metrics behind each video, for deciding what to make next.
Counters differ per platform and some data arrives late; the page marks unavailable dash values as "—" rather than zero, so read the fine print before comparing videos against each other.
The whole loop, in one paragraph
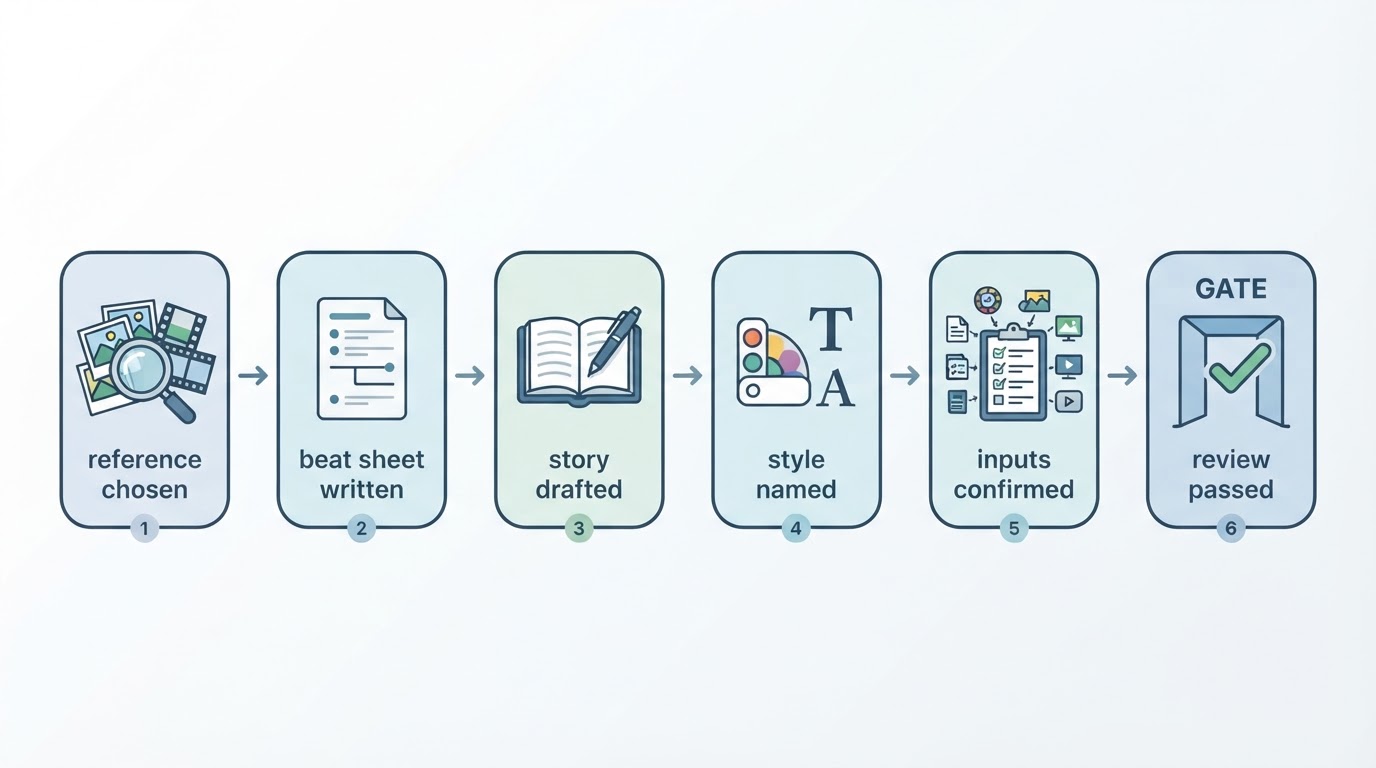
Find a reference in Ideas, click Use this story, describe what your video should cover, check the Brand center is accurate, click Start making, review and revise the render in Projects, then schedule the next three days from the Content calendar and watch published results in Analytics. Most of the work is in step 3 and step 5: a specific ask, and an honest review before you publish.
FAQ
Do I need to upload my own footage?
No. Meltica generates from your description and brand details. Upload materials only if you want a specific logo or product photo to appear.
Can I use any video as a reference?
Any short video whose structure you want to borrow. Trending clips, featured samples, or your own footage all work. You are borrowing pacing and camera work, not content.
How long does generation take?
It runs as a background task — you can close the page and check Projects later. The detail page shows timestamps for each stage, so a failed render is easy to spot and retry.
What if the first render is not right?
Use the "Changes to the video" box on the work detail page. Describe the change ("shorten the opening, larger subtitles") and it re-renders without starting over.
Does publishing post to my accounts automatically?
Publishing sends the video to a channel you have connected. Connect channels from the Projects page, and check Analytics to see how each performs.