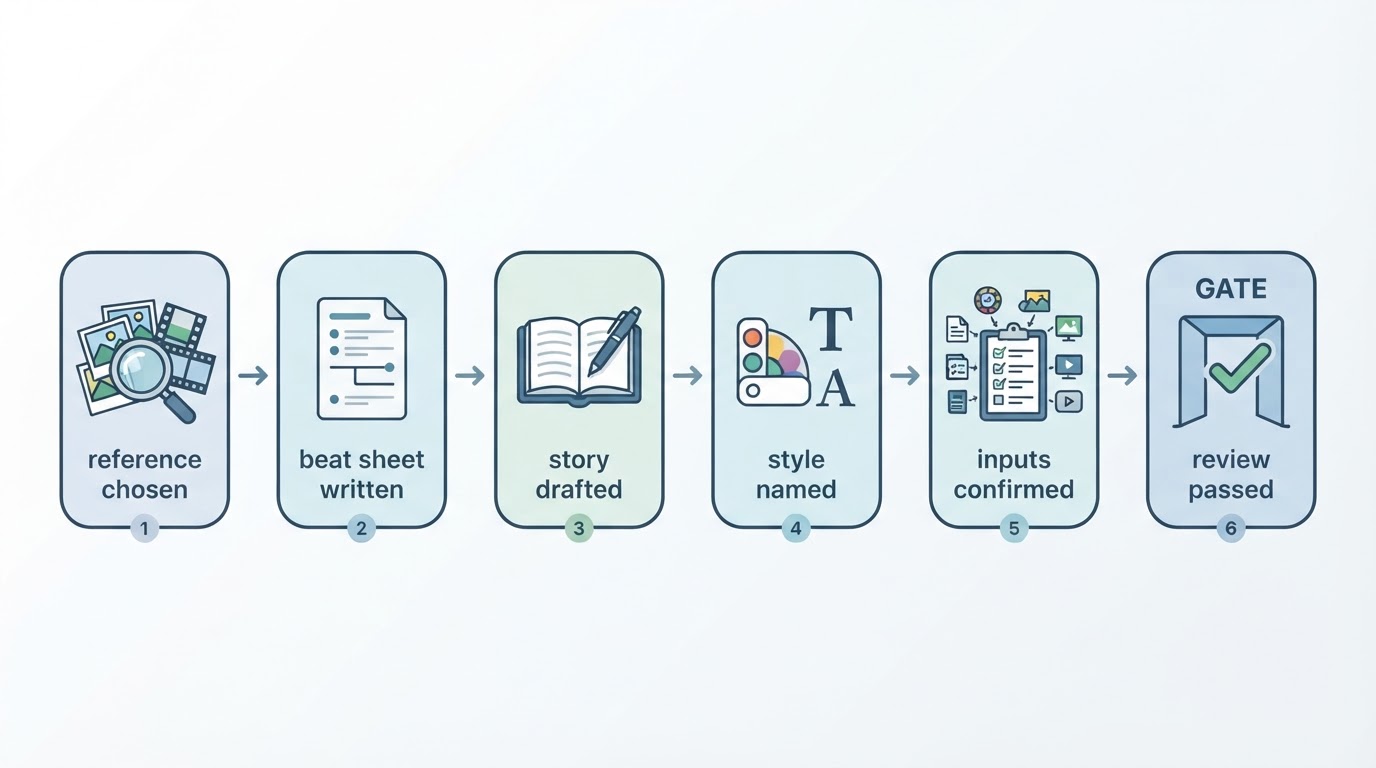
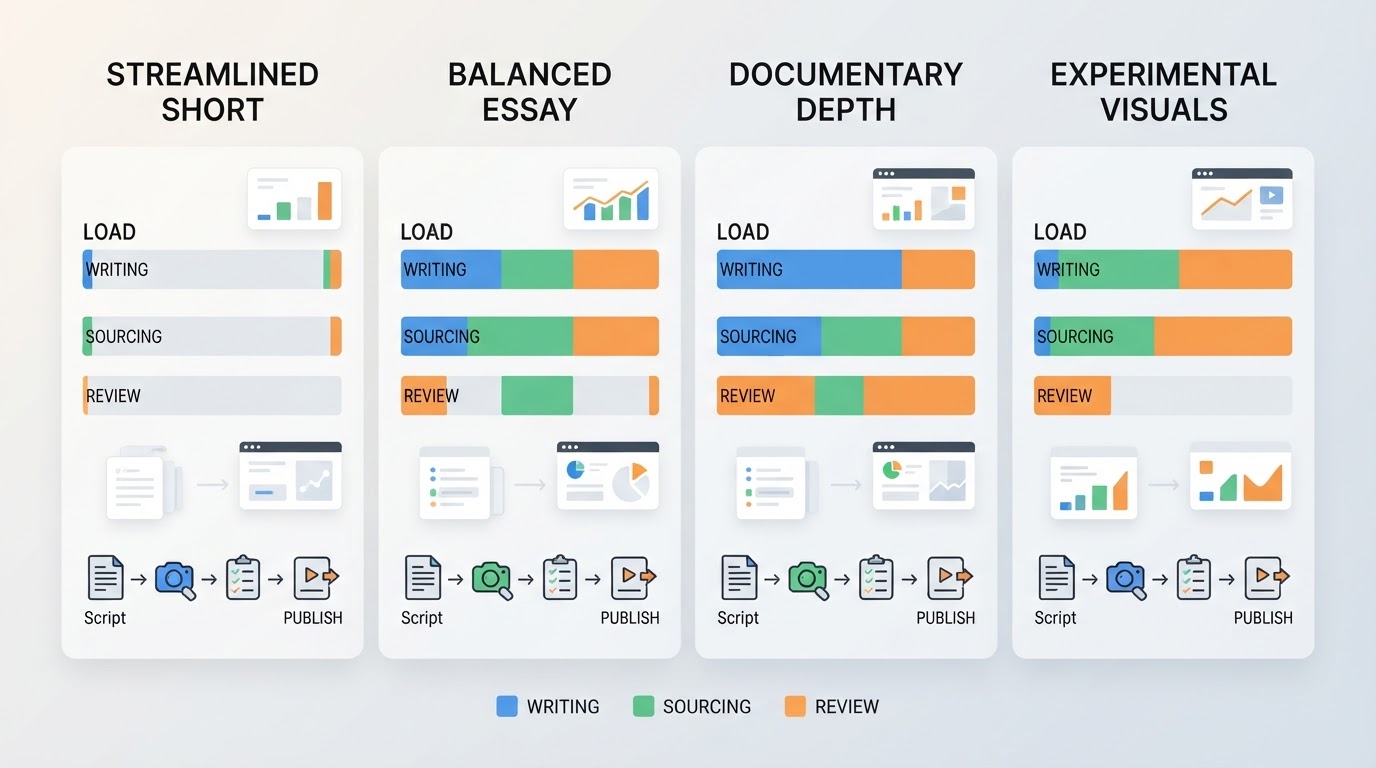
Most editing problems are sequencing problems. People caption a section, then re-cut it. They balance audio, then delete half the segment the audio sat under. This guide keeps the work in an order where each pass survives the next one, and it treats the review — the part almost everyone rushes — as a real stage with its own checklist.
Decide what the finished edit has to do
Before you open a timeline, write down the job of the finished file in one sentence. A step-by-step tutorial has to keep the viewer oriented at every stage; a product announcement has to land its point early and then stop. Those two sentences produce very different edits from the same footage, so pick one before you start cutting.
Then write the delivery spec, even if some fields are still guesses:
- Where it will play, and the aspect ratio that implies
- Target runtime, plus the hard ceiling if there is one
- Whether captions are burned into the picture or supplied as a separate file
- Whether any segment will be reused as a short clip elsewhere
- The frame rate and resolution the camera already records at
Anything you cannot confirm yet belongs on a production check list rather than in the edit. Guessing at an export requirement, then re-timing a finished sequence to fit it, is the most expensive way to learn the spec.
With the goal and the spec written down, set the order of work: organize footage, rough cut, fine cut, captions and sound, export and review. Each stage below assumes the previous one is settled.
Organize the footage before you open the timeline
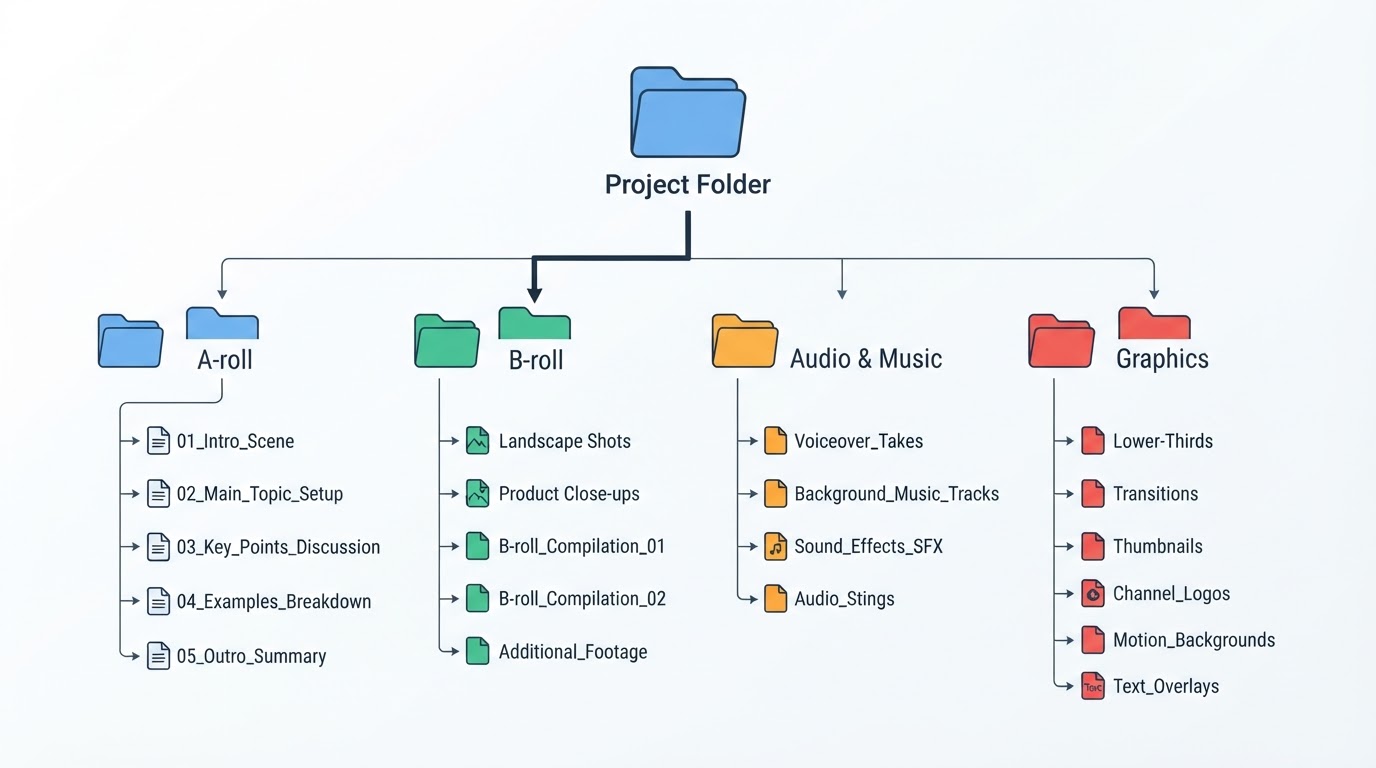
Sorting files is not housekeeping; it is the difference between an edit you can resume tomorrow and one you have to rebuild. Use one folder per video, with four subfolders:
- A-roll — the primary talking-head or main-action footage, because this is what the story timeline is actually built from.
- B-roll — cutaways, inserts and screen recordings, kept separate so you can scan options without scrubbing past primary footage.
- Audio and music — voice recordings, music beds and effects in one place, so nothing gets detached or left behind at export.
- Graphics — titles, overlays, logos, end cards and any supplied images, named so a reviewer can tell which are current.
Keep one project folder and name files by scene rather than by camera default, so the timeline stays findable when you return to it. Rename takes by intent — an opening attempt, a retake of step two, an alternate close — and delete the takes you already know you will not use. If separate audio was recorded, keep it in the audio folder with the same scene naming so you can sync it deliberately instead of searching for it later.
Assemble and cut the A-roll
Drop the A-roll into the timeline in story order before you trim anything. Order first, trim second: pacing decisions are much easier to make when the sequence already reads as an argument rather than a pile of clips.
Now cut, and be specific about what goes:
- Long pauses — the gap before a sentence, the silence after a point lands, the wait while you find a prop. Remove all but a short beat.
- Stumbles and restarts — a half-word, a wrong tense, a sentence abandoned mid-clause. Cut back to the last clean start.
- Fake takes — the delivery you know you will replace. Leaving them in means editing around them twice.
- Filler — repeated setup lines, throat-clearing, and the second version of a point you already made.
Every one of those cuts removes time that carried no information, so the same content now arrives sooner. That is what makes a cut feel snappy: not faster speech, but less waiting. A useful before-and-after shows it plainly.
Before: "So, um — okay, so today I want to talk about, uh, the three settings that, that actually matter when you, when you export."
After: "Three settings actually matter when you export."
Same information, roughly a third of the runtime, and the viewer's attention is still on you rather than on your search for the next word. Leave a short audio handle at each cut so the words do not collide, and check that the room tone does not jump between two takes.
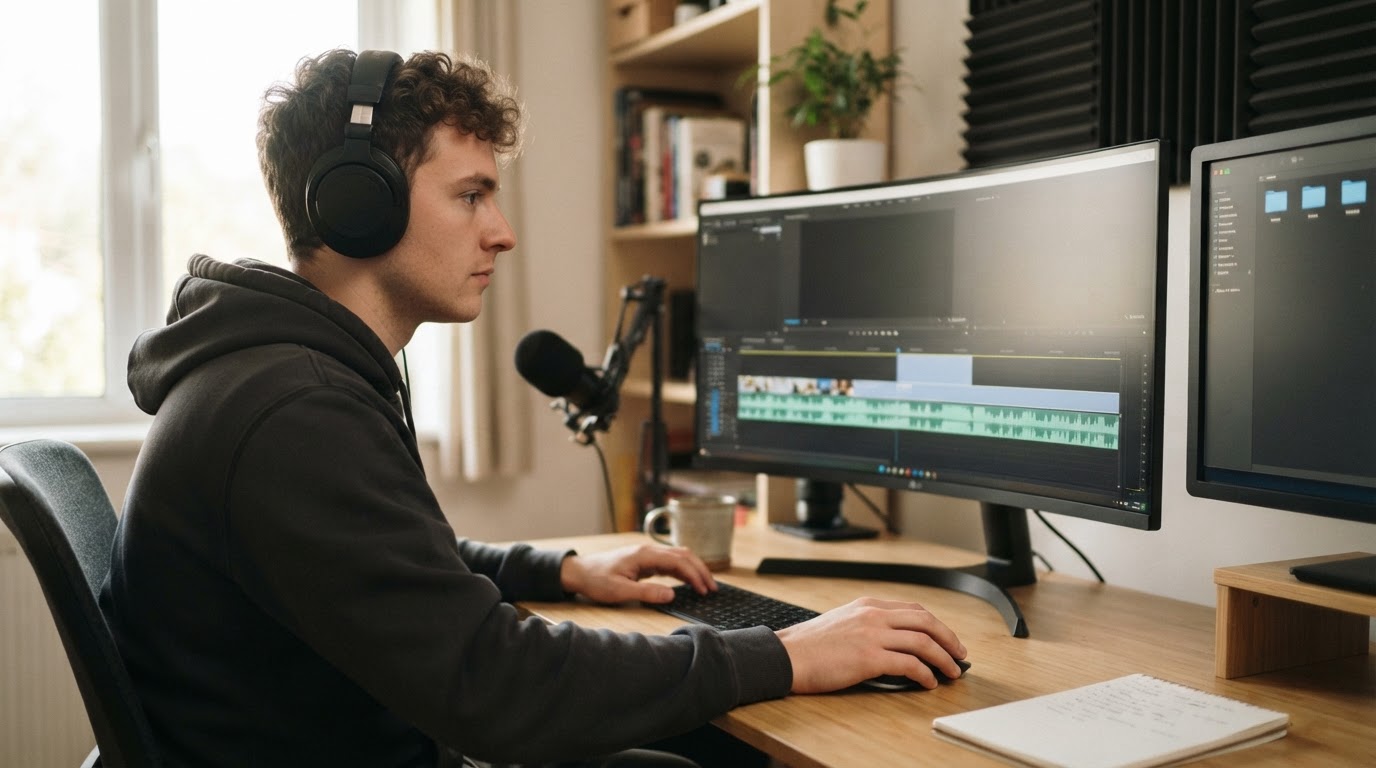
This trimming happens in a timeline editor, which is separate from any generation workspace. Nothing in this step depends on a specific application: the rule is the same whether you are cutting in a desktop editor, a browser tool or mobile software.
Build the fine cut: B-roll, transitions, captions and sound
With the A-roll pace locked, add the supporting layers.
B-roll. Place cutaways where the talking head has been static for a while, or where a spoken referent needs showing. Aim for coverage that carries information — the object you just named, the screen you just described — rather than decoration. Keep each insert long enough to be read.
Transitions. Use cuts by default. A straight cut between two shots in the same scene is invisible in the best way. Reserve anything more elaborate for a genuine change of place or time, and if a transition draws attention to itself, ask whether the cut was hiding a problem in the footage.
Captions. Add them from a transcript rather than typing them in as you watch, then fix the errors in a single pass: names, product terms, numbers, and the auto-generated punctuation that turns statements into questions. Split lines where a speaker would breathe, and check that captions do not sit over an important part of the frame.
Sound. Balance the voice first, so speech sits consistently above the music, then lower the music under the voice rather than raising the voice over the music. Watch the level meters across the whole timeline, not just at the loudest moment, and listen once on ordinary speakers or earbuds — the setup most viewers will actually use.
Review the whole video before you export
Export is not the review. Watch the full edit once, start to finish, without stopping and without fixing anything. Keep a note open and write down timecodes as you go; the discipline of not pausing is what makes this pass catch problems a section-by-section check cannot, because most of them are about flow between sections.
Then run the four-point checklist against your notes:
- Story gaps — a step skipped, a promise made in the opening and never paid off, an ending that arrives without a close.
- Caption mistakes — misspelled names, wrong numbers, lines that flash too briefly to read.
- Sound problems — a level jump between takes, music that buries a sentence, a cut that clips the first consonant of the next word.
- Unintended visuals — a notification appearing on screen, a reflection or clutter you did not plan, a cursor moving at the wrong moment.
Fix only what the notes actually say, then watch the corrected sections in context. Re-watching three short spans is a review; re-watching the whole file after every note turns a review into a rebuild.
Fix what the review found, one shot at a time
When the fix list is long, the temptation is to redo the edit. Resist it. Most review notes are shot-level: this insert is two seconds too late, that caption reads wrong, this cut lands mid-word. Handle them as individual items in the timeline, in the order they appear, and mark each one off.
Group the notes before you fix them, so a single pass covers all audio issues, then all caption issues. Bouncing between categories means replaying the same section repeatedly and losing the thread of what you already changed.
When the finished video was generated, not cut
If the video came out of a generation workspace rather than a camera, the timeline steps above happen inside that tool or not at all, but the review discipline still applies. Meltica, for example, runs generation as a background task tracked in Projects: you can leave the page, follow the task status, then review the complete video and request changes. Its documented review gate is to watch the whole result for story, captions, sound and unintended details, and the supported change path is a request aimed at one shot-level detail rather than a full regeneration.
That is a different operation from cutting a timeline. Projects is where a generated video is reviewed and where a change request is filed against a specific shot; assembling, trimming and re-timing clips for a hand-shot video still happens in an editing application. Treat the two as separate stages in the same pipeline, not as substitutes for each other.
Hand off to upload
Uploading and channel visibility are a separate job with their own settings, so this guide stops at the exported file. Before you hand it over, confirm the delivery spec you wrote at the start: runtime, aspect ratio, resolution, frame rate, and whether captions travel as a separate file. Name the export clearly enough that the next person can match it to the right video without opening it.
Completion standard
The edit is done when all of these are true: the sequence survives one uninterrupted full watch with no unaddressed notes about story, captions, sound or stray visuals; every caption line is readable at normal speed; voice sits consistently above music across the whole timeline; and the exported file matches the written spec. If any of those is still open, you have a known remainder rather than a finished video — which is a fine place to stop, as long as it is written down.