The whole process, and what "done" looks like at each stage
Most guides list steps and stop there. What actually stalls a first video is not knowing when a step is finished, so people keep re-cutting a scene that was already fine or upload a render they never watched once.
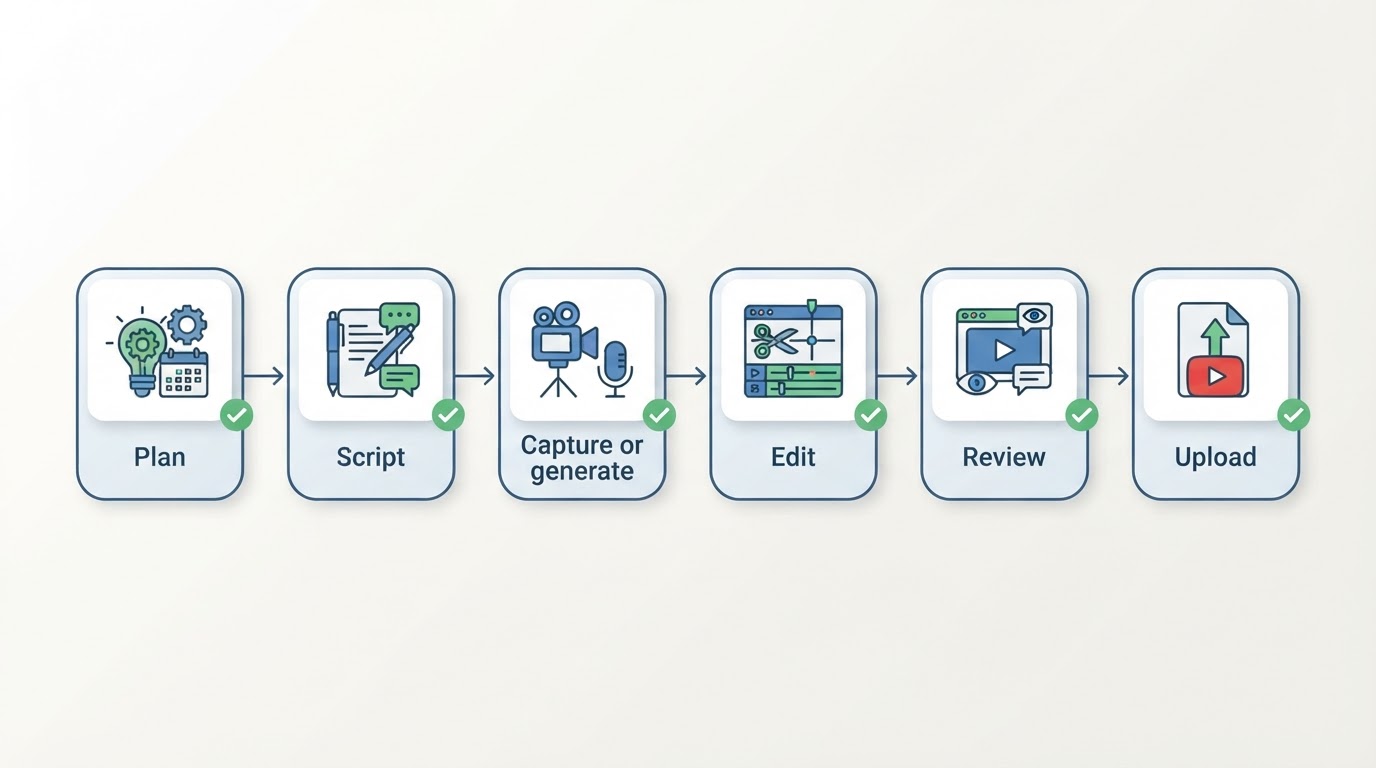
Stage | What you produce | You are done when |
|---|---|---|
1. Plan | One sentence naming the viewer and what changes for them | You can say the promise in one line without using the word "and" |
2. Script | A spoken script with a hook, three beats and a payoff | Reading it aloud takes roughly 80% of your target runtime |
3. Capture or generate | Footage files, or a finished generated render | Every script line has a matching clip or a deliberate replacement |
4. Edit | A timeline with one clear opening and one clear ending | No shot runs longer than it needs to, and audio levels match across cuts |
5. Review | A written list of fixes | You watched the whole video once without pausing and still accept every frame |
6. Upload | A live or scheduled YouTube video | You verified title, description, audience and visibility, then submitted it yourself |
Keep that table open while you work. The rest of this guide fills in each stage.
Stage 1: Decide what one video has to do
A video that tries to answer three questions usually answers none of them. Before you open a camera or a generator, write one sentence: who this is for, and what they can do or understand afterwards that they could not before.
Then check whether anyone is looking for that answer. Search your working title on YouTube and read the first five results as a buyer would: do their titles promise the same thing you are promising, or something narrower? If every result is a 20-minute overview and your promise is a two-minute answer, that difference is your reason to exist. If your promise is identical to the top results with nothing added, narrow it.
Two checks close this stage. Your sentence should fit on one line, and it should name a viewer you could describe to a colleague. If it says "everyone interested in cooking", you are not done yet.
Stage 2: Write the script before you touch a camera
People searching for how to produce a YouTube video often look for gear advice and skip the writing. That order is backwards: the script decides what you shoot, how long you shoot it, and what you can safely cut later.
Write it as spoken language, not as an essay. Plan a hook that states the payoff inside the first fifteen seconds, three beats that build towards it, and a payoff that resolves the opening promise. Mark the beat where you show rather than tell, because that is the shot you cannot fake in the edit.
Then read the whole thing aloud with a timer. Speaking pace sits somewhere between 120 and 150 words a minute for most explainers, so a five-minute video needs roughly 650 to 750 spoken words. If the read-through runs long, cut a beat instead of speeding up. A fast read is the most common reason a finished video feels rushed even when every shot is clean.
Stage 3: Capture footage, or generate it
There are two legitimate routes here, and neither is a shortcut around the other.
If you are shooting, turn the script into a shot list before you set anything up. One line of script, one shot, plus a second angle you can cut to when the first feels static. Record at least ten seconds of every setup so you have handles on both ends, and check audio on a real take rather than a test: dialogue that clips or hisses cannot be fixed later.
If you are asking how do I create a video on YouTube with no camera, no lighting and no location, generation is the route that replaces all three.
What an AI generation step can and cannot cover
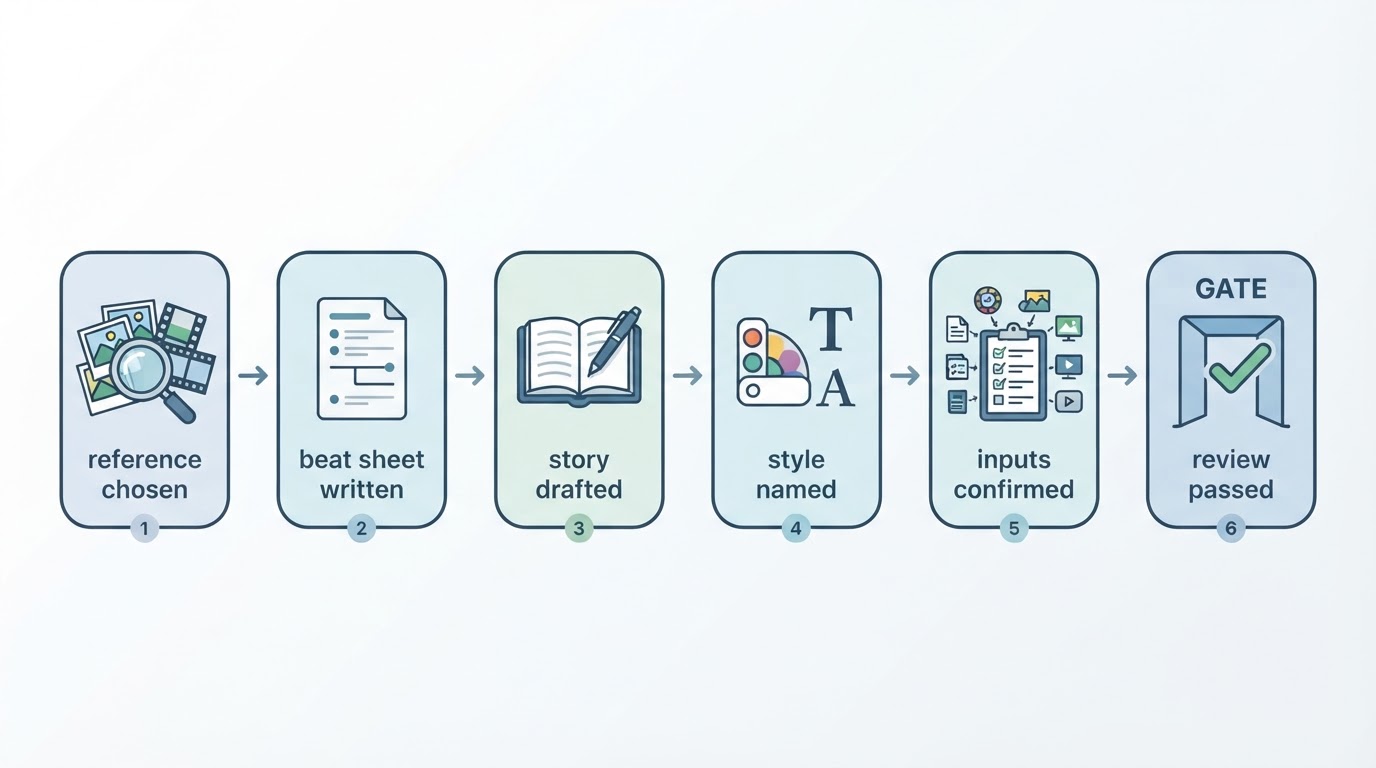
An AI video step replaces capture, not planning. A workable sequence looks like this: study a reference video for its structure, write your own story, pick a visual style, then let the tool render in the background while you do something else.
The reference stage is about structure, not footage. Note the order of shots, the length of the opening, where the pacing changes and how the ending resolves. Turn those notes into beats for your own story, with your own characters, your own setting and your own ending. Copying the structure is how you learn; reusing the footage is how you inherit someone else's rights problem.
The style choice decides how the render looks, so decide it before you submit rather than after. Rendering typically runs for several minutes or longer and continues after you leave the page, which is exactly why the next stage matters.
Generation fits short narrative and product-story videos where the reference gives you pacing and the story is yours. It fits poorly when the video must show a specific real product, a named person or an exact location, and most tools will not accept text or a single still image in place of a reference. Matching shots, characters and voices across runs is not guaranteed, so treat every render as a draft to review.
Stage 4: Edit for pace, then export once
Editing is mostly subtraction. Put the clips in script order, cut the first two seconds of every take where you are settling in, and remove anything that does not move the viewer towards the payoff.
Add captions, because a large share of viewing happens with the sound off, and check them against the audio rather than the script — spoken words and written words are rarely identical. Normalise audio so quiet and loud sections sit at a similar level, and keep music well under the voice.
Export once you are satisfied with the timeline, not before. A 1080p MP4 file with a standard frame rate uploads cleanly and is easy to re-edit later; repeatedly re-exporting to "check" a small change wastes more time than it saves.
Stage 5: Review the complete video before it goes anywhere
Watch the whole thing once without stopping. No scrubbing, no pausing to fix something, no second screen. Problems that are invisible when you jump between clips become obvious when the video plays at real speed.
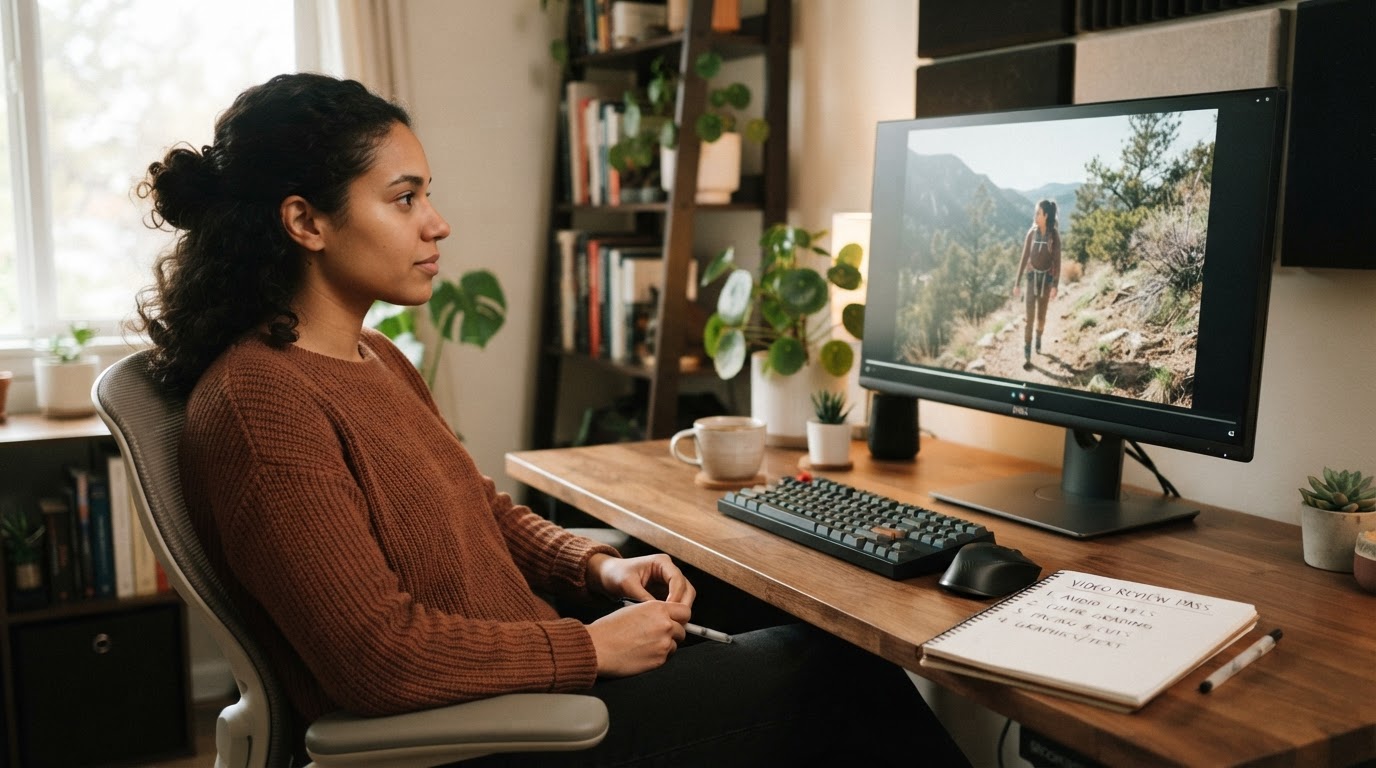
Then watch it again with a numbered list and write fixes against four headings:
- Story — is the promise from stage 1 resolved, and does the ending land after the last beat?
- Captions — misspelled names, cut-off subtitles, text that disappears before it can be read.
- Audio — a clipped word, a music drop over the punchline, silence where a cut should be.
- Unexpected details — a watermark, a wrong logo, garbled generated text, a face that changes between shots.
Number each item and fix them in one pass. Reviewing is a separate job from editing, and mixing the two is how a video ends up in an endless loop of small changes that never reaches upload.
Stage 6: Upload it to YouTube
Uploading is a short, mechanical stage once the file is final. Sign in to the Google account that owns the channel, open the upload flow, choose the file, and then read every field before you submit.
YouTube asks you to confirm a few decisions per video: the title, the description, the audience declaration, and the visibility you want. Write the first two lines of the description as if they were the only part anyone reads, because they often are. Set the audience and visibility deliberately rather than accepting defaults, and review the copyright checks that appear for the audio and any footage you used.
Some workspaces can push a finished video to your own channel directly. Meltica, for example, publishes to the creator's own YouTube channel after they authorize Google access: you review the title, description, audience and visibility for that video, then explicitly submit the upload. Connecting a channel on its own never publishes anything, and availability depends on account access, site configuration and Google's approval of the integration, so confirm the option is present before you plan around it.
A five-minute checklist before you publish
- The promise from stage 1 is stated in the first fifteen seconds.
- Every script line has a matching clip or a deliberate replacement.
- Captions were checked against the audio, not the script.
- Audio levels are consistent from the first cut to the last.
- You watched the full video once without pausing.
- The title and description name the same promise as the video.
- Audience and visibility were set on purpose.
- You pressed publish yourself.